gen4-uLCD-24pt 240x320 Touchscreen LCD

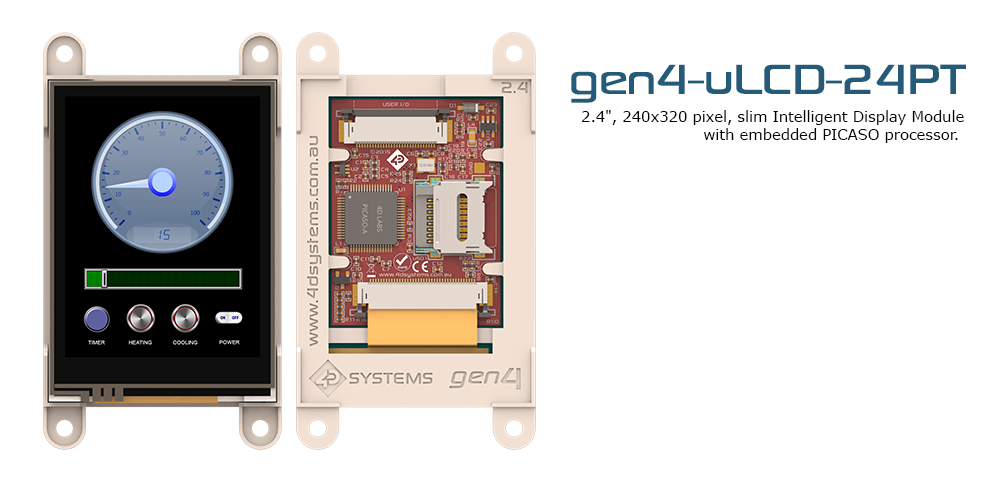
The gen4-uLCD-24pt from 4D systems is a 2.4" resistive touchscreen display module with a serial interface. It features a TFT LCD Display, is capable of Touch Detection, microSD memory Storage, GPIO and Communications, along with multiple millisecond resolution timers, and Audio Generation. A SD card inserted in the display module's socket can be used to load fonts, images, and play videos in response to serial commands.
Links: Datasheet Product Page [[http://www.digikey.com/product-detail/en/4d-systems-pty-ltd/GEN4-ULCD-24PT-PI/1613-1179-ND/5823713 | Buy from Digikey]
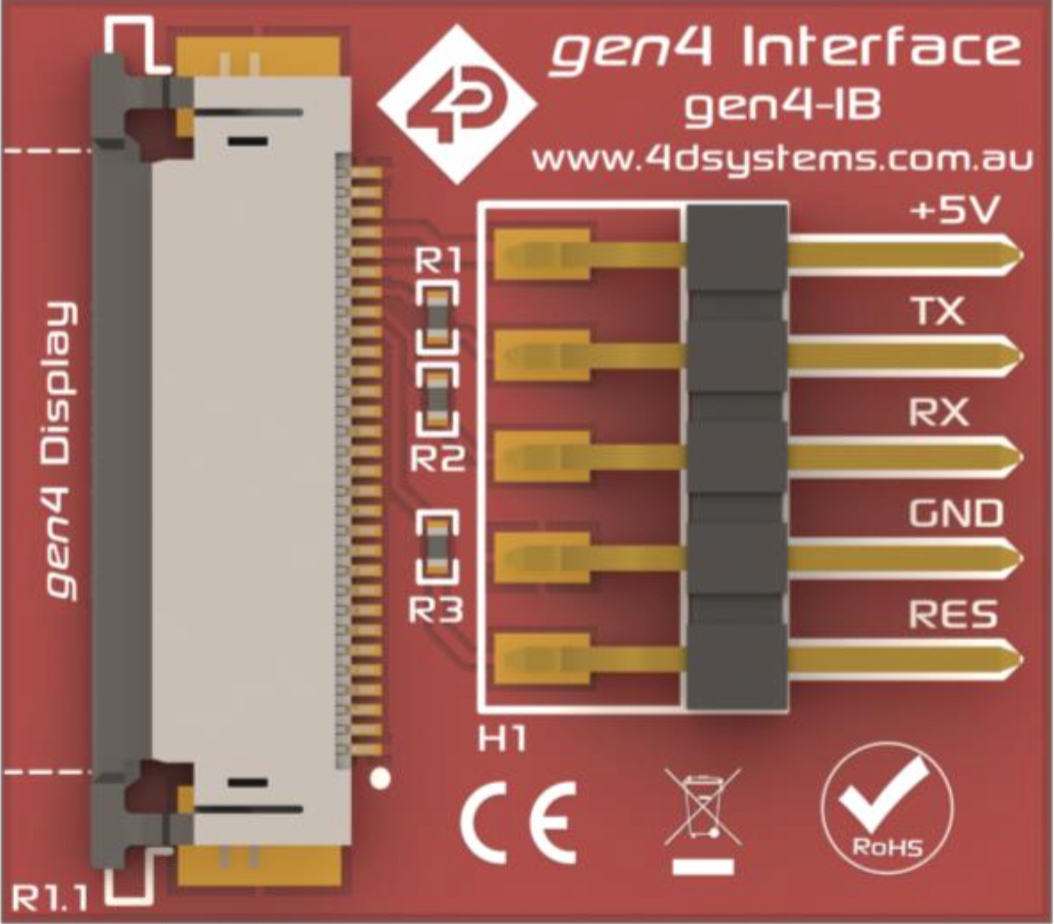
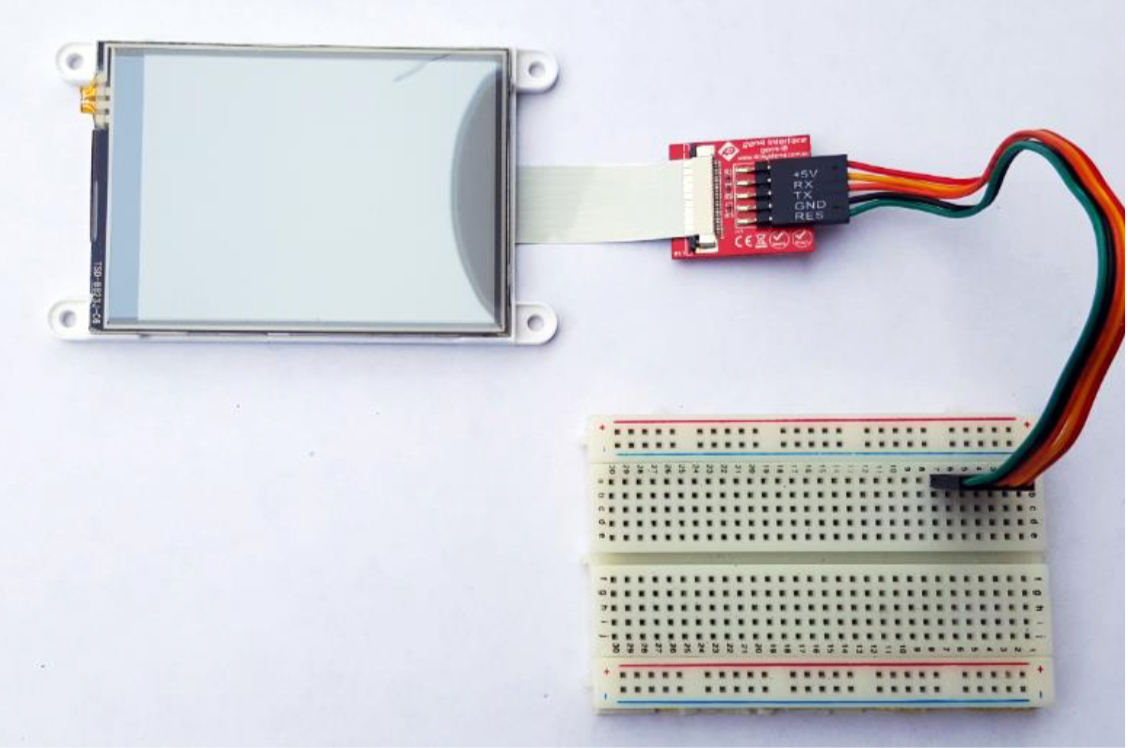
Unlike previous versions, the Gen4 requires the use of a ribbon cable connected to the gen4-IB (Interface Board), which has the standard pin out shown below.
| mbed | uLCD Header | uLCD Cable |
|---|---|---|
| VU | 5V | 5V |
| Gnd | Gnd | Gnd |
| P9 | RX | TX |
| P10 | TX | RX |
| P11 | Reset | Reset |
The LCD object can be constructed as follows
#include "mbed.h"
#include "uLCD_4D_Picaso.h"

//Three pins are: TX   RX  RESET
uLCD_4D_Picaso lcd(p9, p10, p11);

int main() {
     //Program code
}


The gen4 interface board
Library
Import libraryuLCD_4D_Picaso
Driver for 4D Systems LCD screen with Picaso processor. Ported from 4D Systems Picaso Serial Linux Library
Useful Functionality
The following are some examples of useful functions
Printf
Text display can be achieved with printf. Example use and important functions are shown below.
     lcd.printf(“HelloWorld”); //Prints "HelloWorld" to the LCD
     lcd.txt_Height(int x); //sets the height of the letters to x*default
     lcd.txt_Width(int x); //sets the width of the letters to x*default
     lcd.txt_MoveCursor(int line,int column);
     lcd.txt_FGcolour(Picaso::RED); //sets text-color to red.
     lcd.txt_BGcolour(Picaso::ORANGE); //sets text-background color to orange.
Information
The display is divided into a grid where one character takes up one column in a row. The size of the grid depends on the current height and width of the text. The top left position of the screen is line 0, column 0!
Shapes
Different shapes can be drawn on the display with functions from the library by specifying the location, size, and color. A few examples are shown below. A complete listing of functions are listed in the API.
     uint16_t x = 30
     uint16_t y = 20
     uint16_t radius = 15

     lcd.gfx_CircleFilled(x, y, radius, Picaso::CYAN); //Filled cyan circle with radius 15 at 30, 20
     lcd.gfx_PutPixel(x, y, Picaso::GOLD); //Draws a gold pixel at 30, 20
     lcd.gfx_Cls(); //Clears the screen to the default values
Touch Screen
The touch screen can be read in with a series of functions which are shown below. A full function listing is shown in the library API.
     lcd.touch_Set(0);   //Enables touch screen. An argument of "1" Disables the touch screen.

     int status = lcd.touch_Get(0);  // Argument of "0" gets the status of the screen.
     //The following values can be returned
     //0 = INVALID/NOTOUCH
     //1 = PRESS
     //2 = RELEASE
     //3 = MOVING

     int x = lcd.touch_Get(1);	//Argument of "1" gets the x-coordinates
     int y = lcd.touch_Get(2);	//Argument of "2" gets the y-coordinates
Using the SD Card
The SD card reader can make use of both formatted and unformatted SD cards, however, all image and video files must be generated using Workshop 4 Graphics Composer, which save the files in a format that works with the display.
For formatted SD cards, the SD card must be in FAT16 and images must be saved in the ".gci" format. In Graphics Composer:
- Select Add new image
- Select the correct screen size (240x320)
- Deselect “ignore screen size constraints”
- Click on "Build"
- Select the SD card and name the file appropriately. Filenames cannot be longer than eight characters, not including the extension.
- Select “4DGL, SGC Picaso – GCI – FAT Selected Folder”
The file should now be saved to the SD card and is ready for use with the display. All files besides the one ending with ".gci" are unnecessary and can be removed. The following code segment shows how to display the image with the mbed.
     lcd.file_Mount(); //Mount the SD card once for use.
     uint16_t handle = lcd.file_Open("image.gci", 'r');
     lcd.file_Image(x, y, handle); //Display the image at the coordinates specified in "x" and "y"
Demo Programs
Tap Game
This simple game requires the user to memorize a pattern shown on the display and replicate it with the touch screen. The player is first shown instructions, displayed with printf, followed by a countdown with images from the SD card. Nine black tiles are shown on the screen and flash in orange to indicate a pattern. Every correct tile that the user inputs is highlighted in green, while incorrect selections are highlighted in red. After three incorrect guesses, the game is over.
Import programLab4_Demo_Game
A Demo Tap-Game for the 4D Systems GEN4-24PT touch display
Drawing Program
This is an example drawing program that makes use of the LCD's touch screen. It was originally developed for an earlier version of this display but is still applicable to this version.
Import programuLCD_4D_24PTU Drawing Program
Very basic test program for Picaso Serial library.
Please log in to post comments.
