Sample program showing how to connect GR-PEACH into Watson IoT through mbed Connector and Watson's Connector Bridge
Dependencies: AsciiFont DisplayApp GR-PEACH_video LCD_shield_config LWIPBP3595Interface_STA_for_mbed-os USBDevice
You are viewing an older revision! See the latest version
Homepage
Overview
This sample program shows how to connect GR-PEACH into Watson IoT through mbed Connector and Watson's Connector Bridge. Note that this program is derived from https://github.com/ARMmbed/mbed-ethernet-sample-techcon2016.
In this program, at first, the barcode data input from camera is decoded on GR-PEACH using ZXing which is an open-source, multi-format 1D/2D barcode image processing library. Then, the decoded string is sent to Watson IoT via mbed Device Connector and Watson's Connector Bridge. At last, the delivered string is confirmed via NodeRED flow.
Required hardware
- GR-PEACH ( https://developer.mbed.org/platforms/Renesas-GR-PEACH/ )
- Audio Camera Shield ( https://developer.mbed.org/teams/Renesas/wiki/Audio_Camera-shield )
- LCD Shield ( https://developer.mbed.org/teams/Renesas/wiki/LCD-shield )
- BP3595 ( https://developer.mbed.org/components/BP3595-for-GR-PEACH/ )
- Ethernet cable and connection to the internet
Application setup
- Select the connection type. For details, please refer to the following wiki:
https://developer.mbed.org/teams/Renesas/code/mbed-os_Watson-IoT_ZXing_sample/wiki/Connection-type. - Set the client credentials. For details, please refer to the following wiki:
https://developer.mbed.org/teams/Renesas/code/mbed-os_Watson-IoT_ZXing_sample/wiki/Client-credentials. - Change Ethernet settings. For details, please refer to the following wiki:
https://developer.mbed.org/teams/Renesas/code/mbed-os_Watson-IoT_ZXing_sample/wiki/Ethernet-settings. - Change Wifi settings. For details, please refer to the following wiki:
https://developer.mbed.org/teams/Renesas/code/mbed-os_Watson-IoT_ZXing_sample/wiki/Wifi-settings.
Building this sample program
- Import this sample program onto mbed Compiler.
- Configure this sample program in accordance with Application setup.
- Compile the example on mbed Compiler and download the resultant binary file.
- Plug the Ethernet cable into GR-PEACH if you are using Ethernet mode.

- Plug the micro-USB cable into the OpenSDA port with lies on the next to the RESET button.
- Copy the binary previously downloaded to your PC to GR-PEACH to flash this sample program. When the copy is successfully completed, the board is ready to work.
- Press the RESET button on the board to run this sample program.
- For verification, please refer to the following wiki:
https://developer.mbed.org/teams/Renesas/code/mbed-os_Watson-IoT_ZXing_sample/wiki/Monitoring-the-application.
Application resources
This sample program exposes two resources listed below:
- /311/0/5850 : Trigger to toggle LED on GR-PEACH (PUT). When "1" is sent to this resource by PUT method, LED should be turned off. Otherwise, LED should be turned on.
- /888/0/7700: Decode result of barcode data input from camera (GET)
Setup of Watson IoT
- You should create Watson IoT Instance by the following procedure:
- Login IBM Bluemix from https://console.ng.bluemix.net/ and login it.
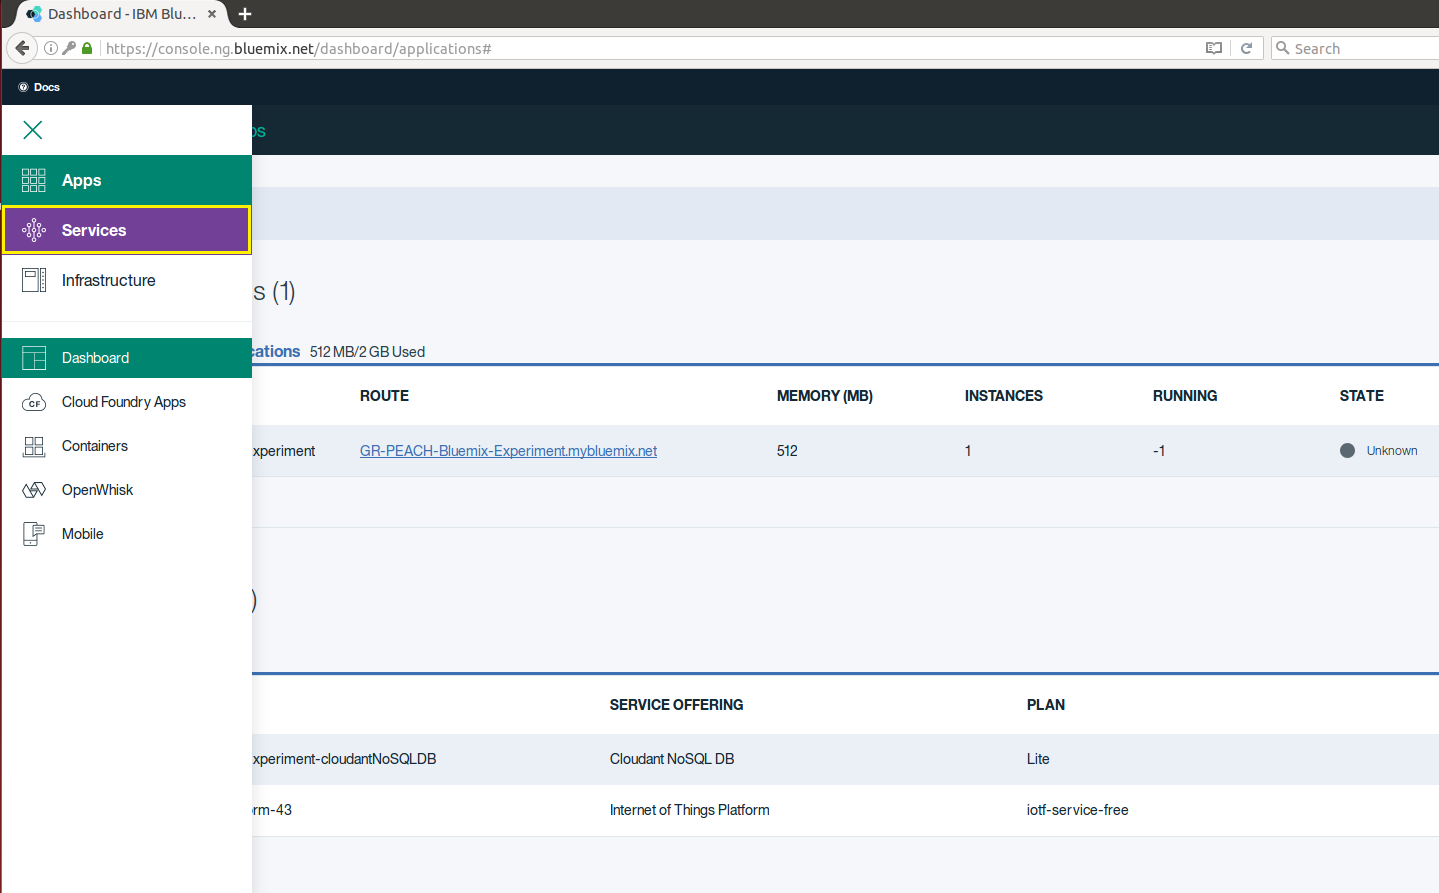
- Select Services as follows:
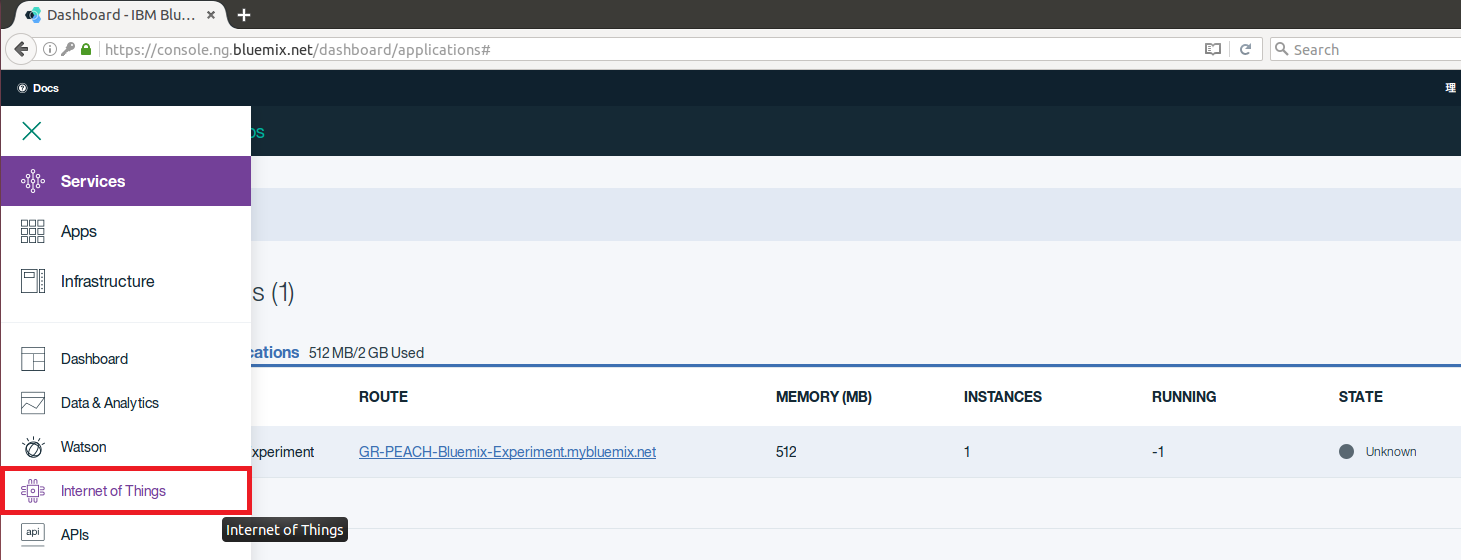
- Select Internet of Things" as follows:
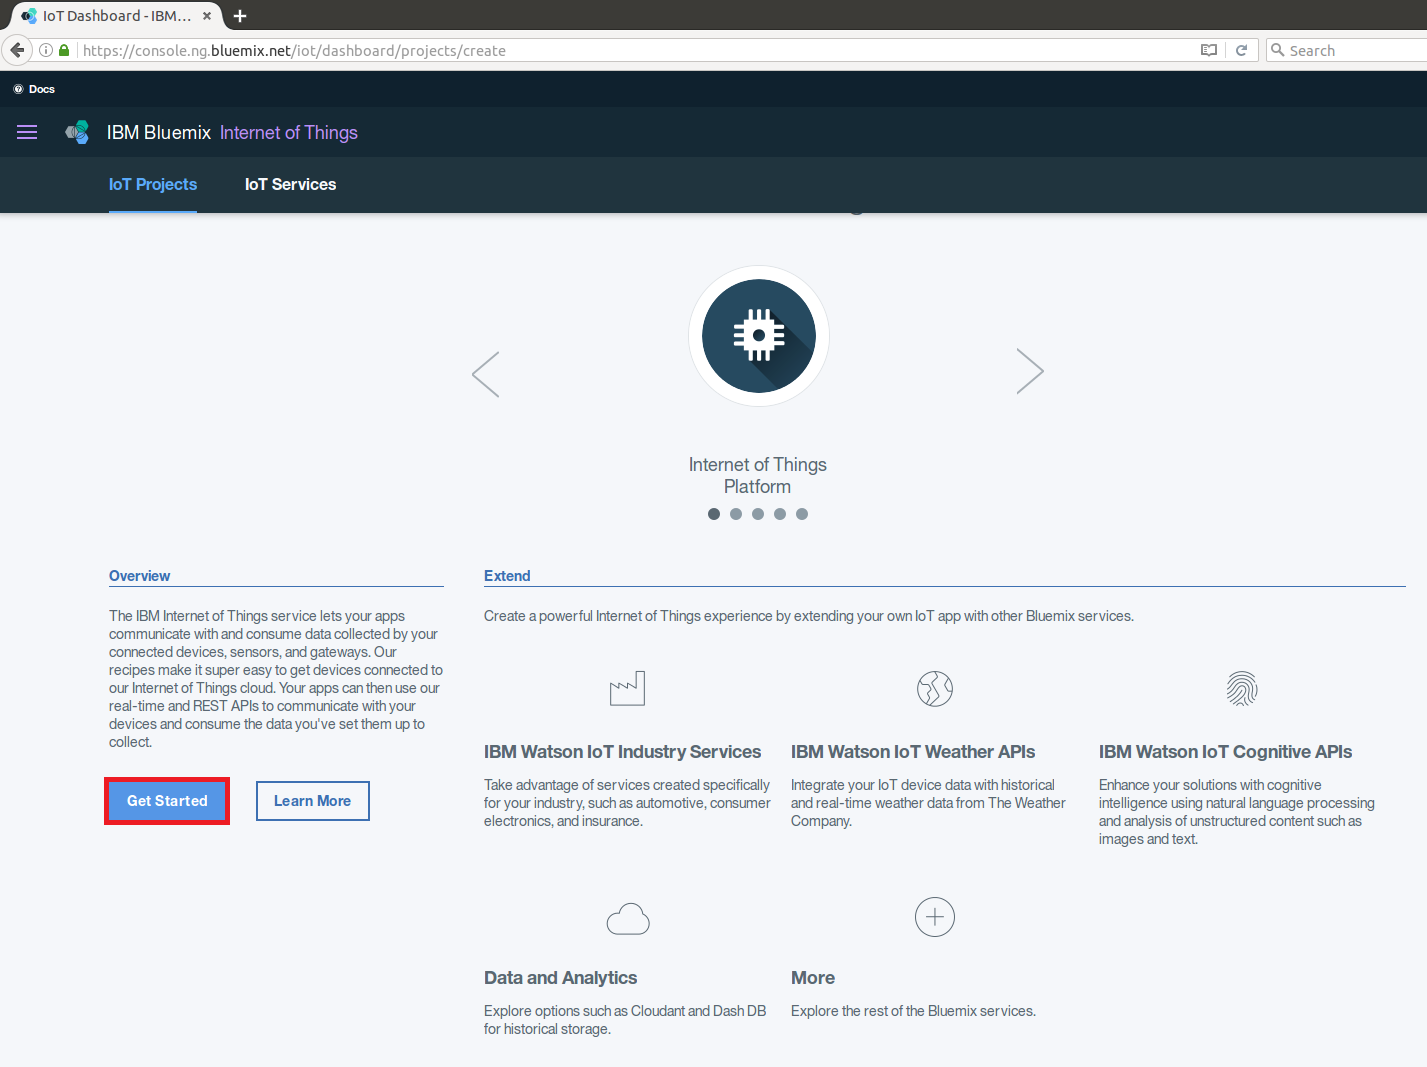
- Press Get Started as follows:
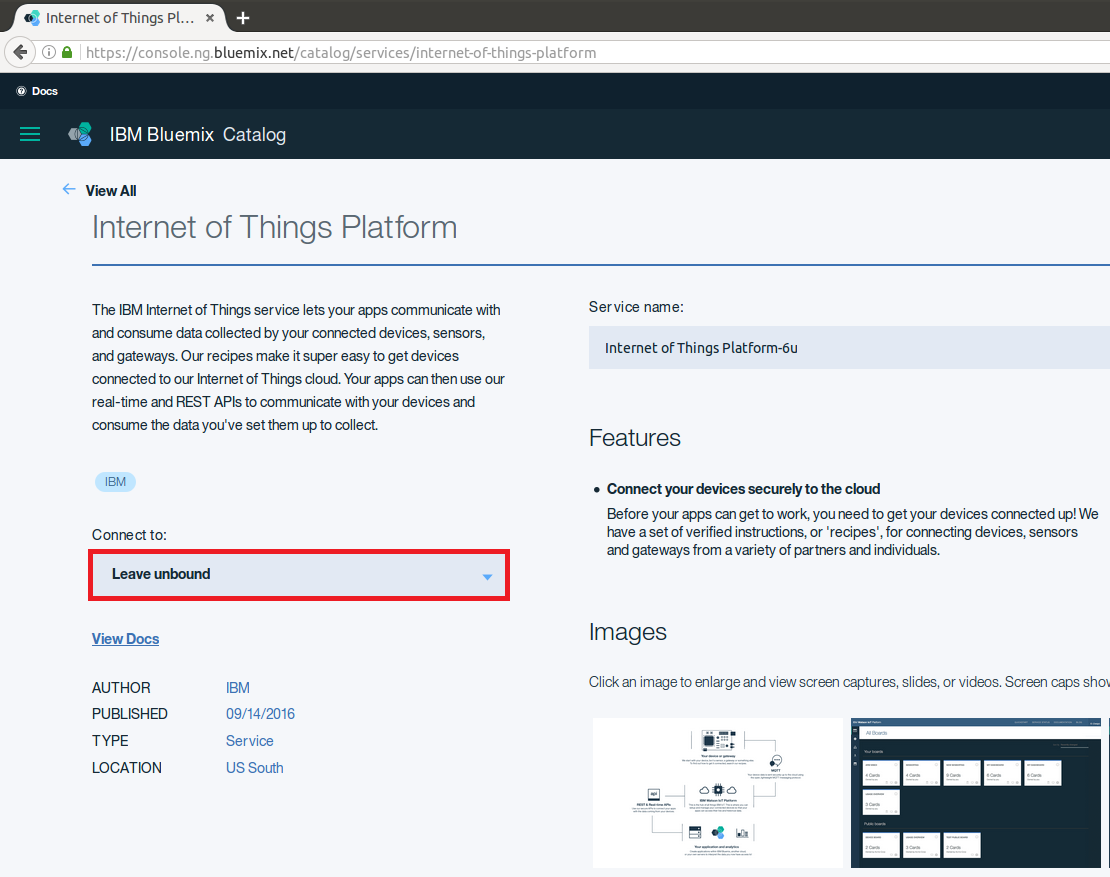
- Configure Watson IoT Instance
- Leave unbound
- Select the Free plan, then click Create
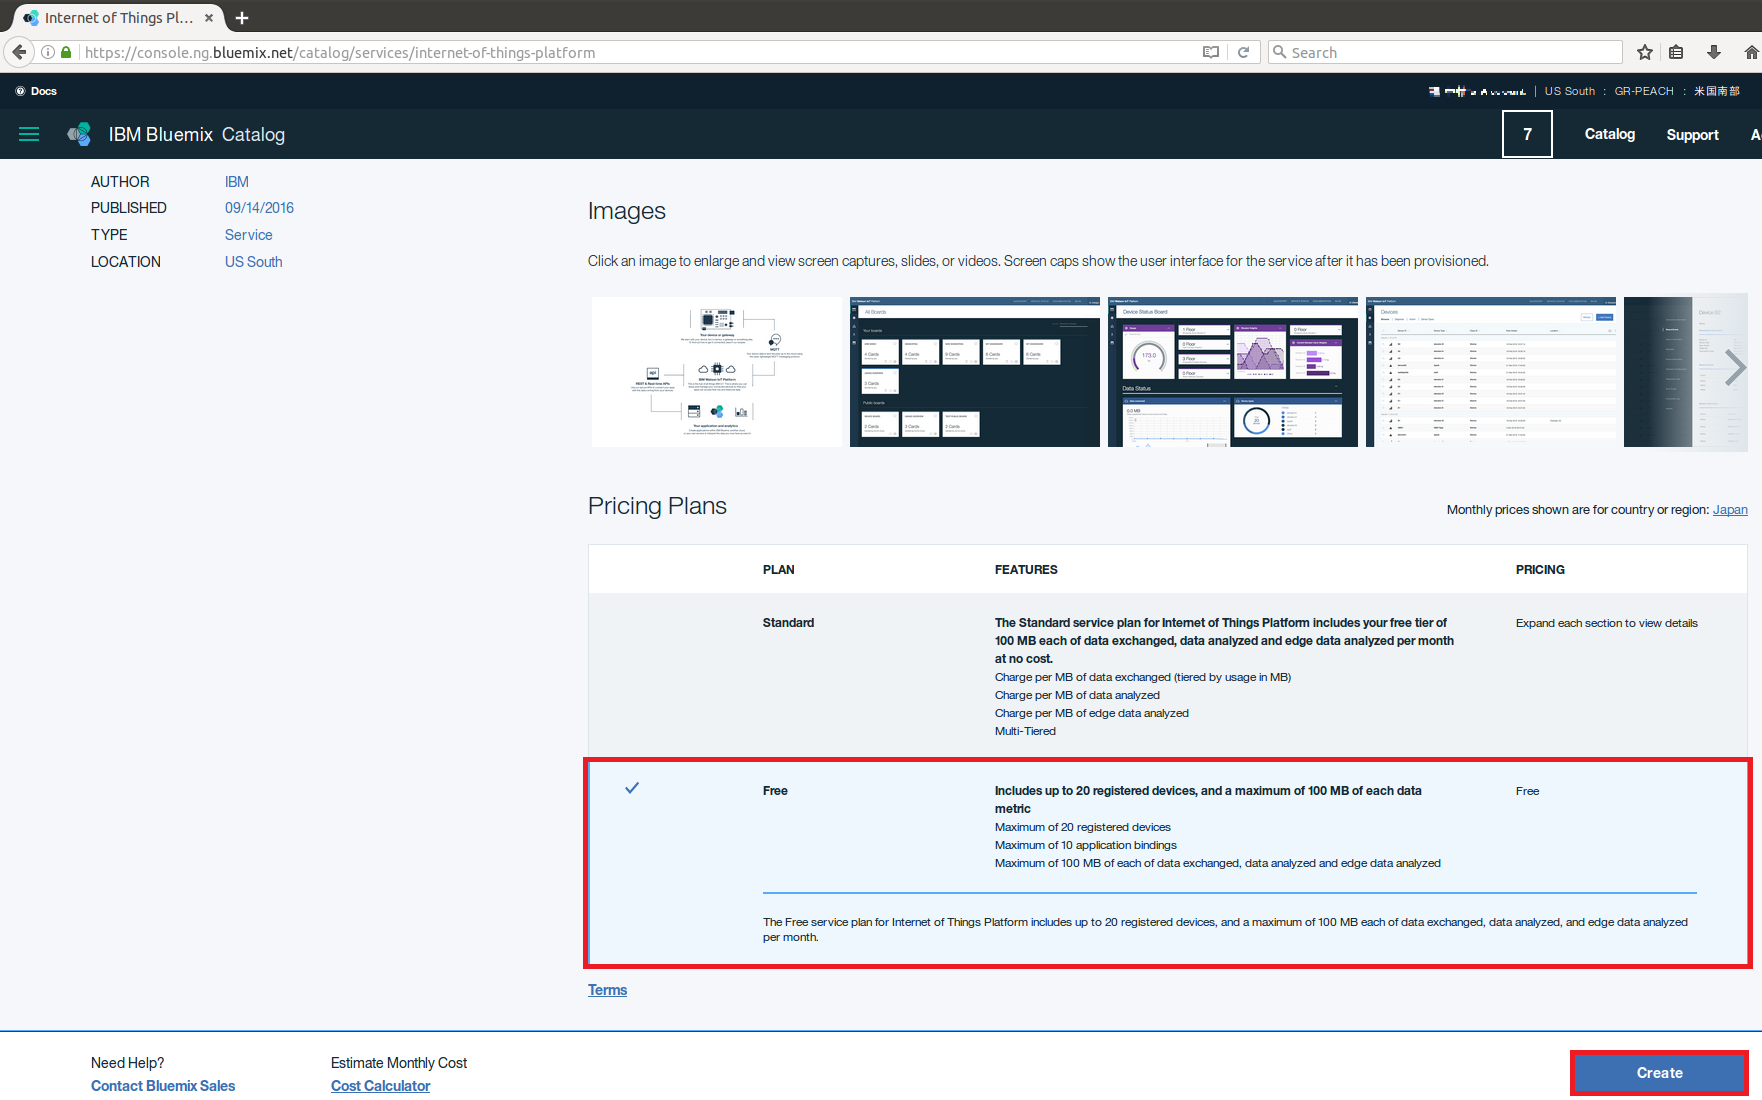
- Leave unbound
- You should create Watson IoT Application Credentials
Once you successfully create Watson IoT Instance, you should see the following Watson IoT dashboard:
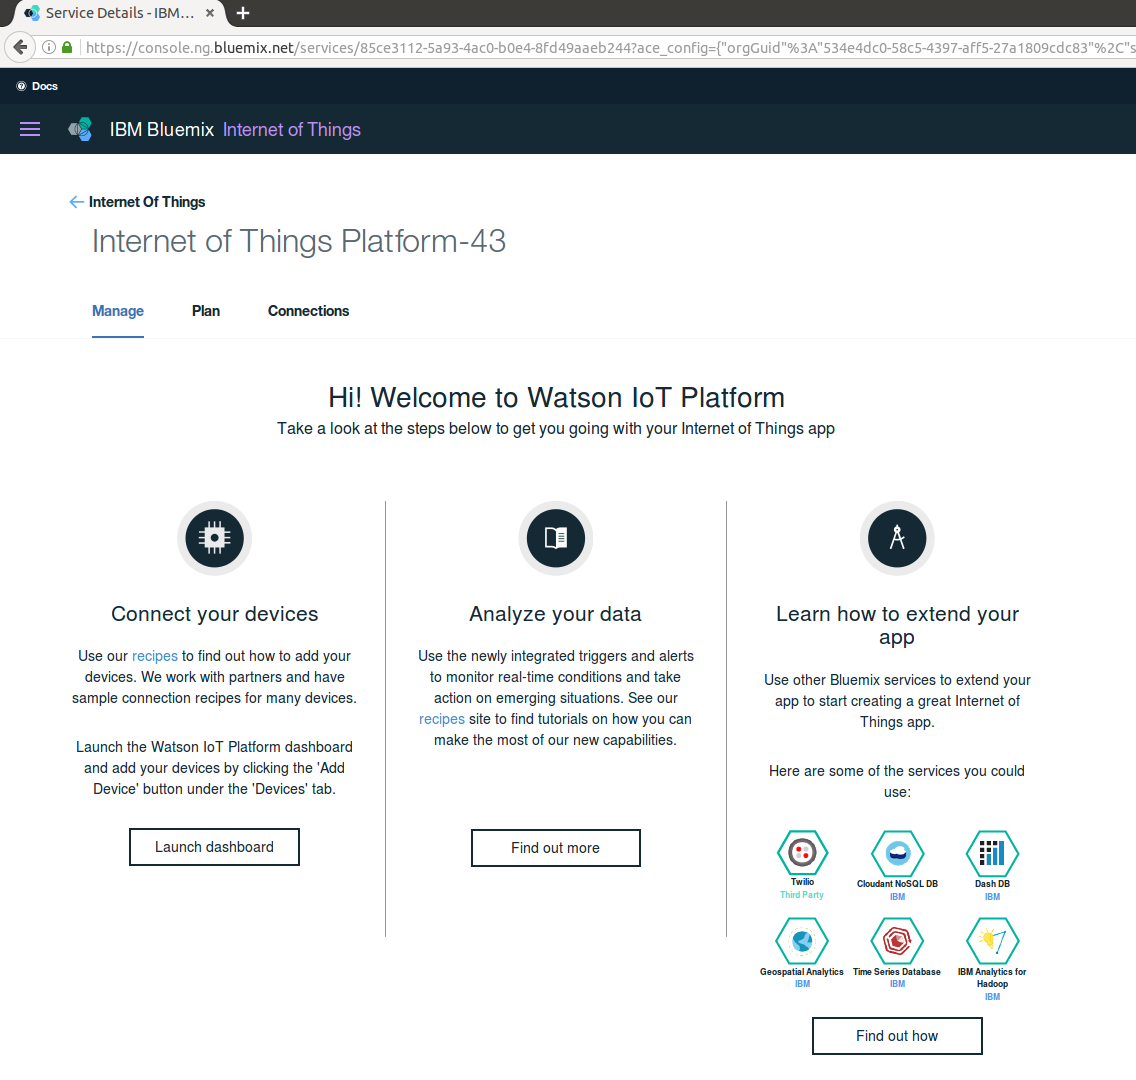
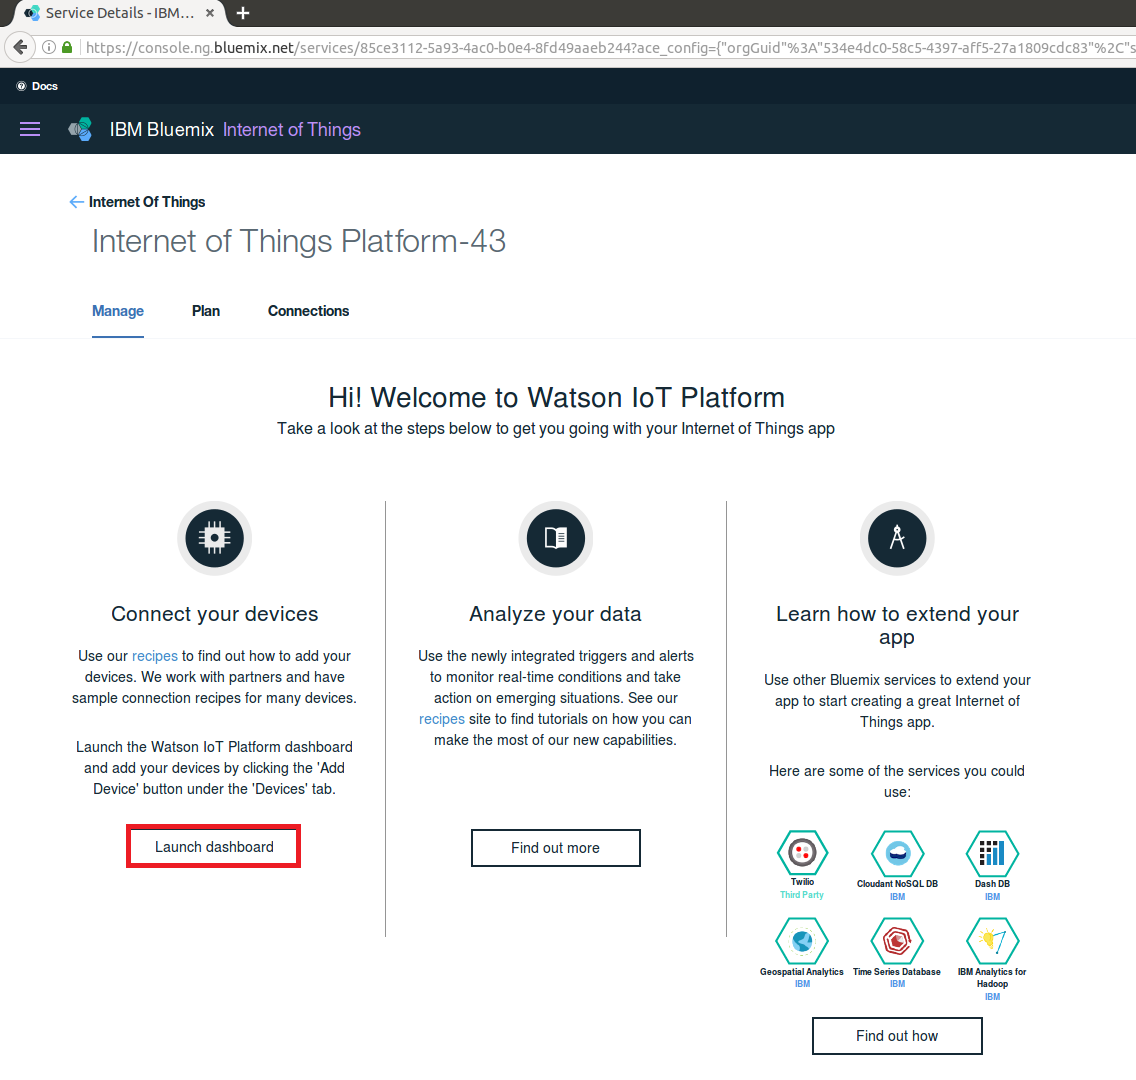
- On dashboard, launch the Connect your devices dashboard
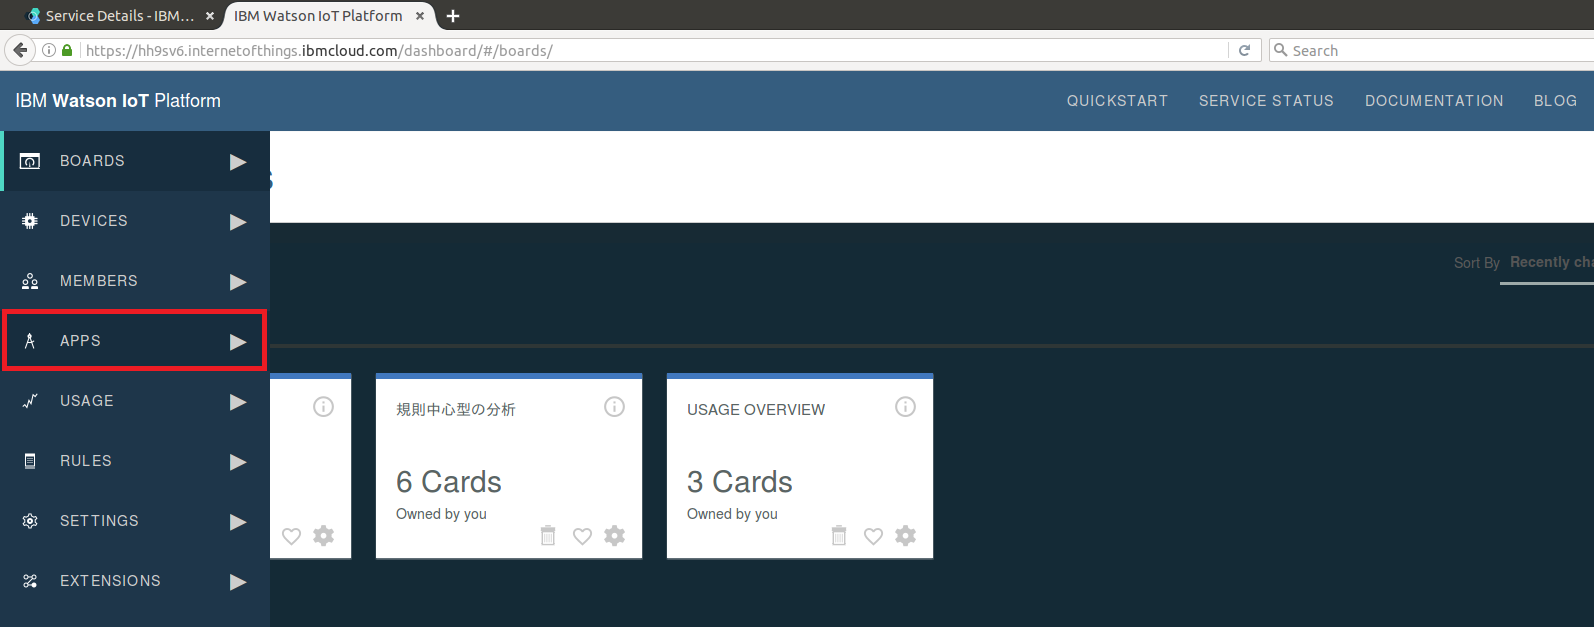
- Click APPS
- Click Generate API Key

- Record the API Key and Authenticatoin Token. Then click Generate after adding a comment
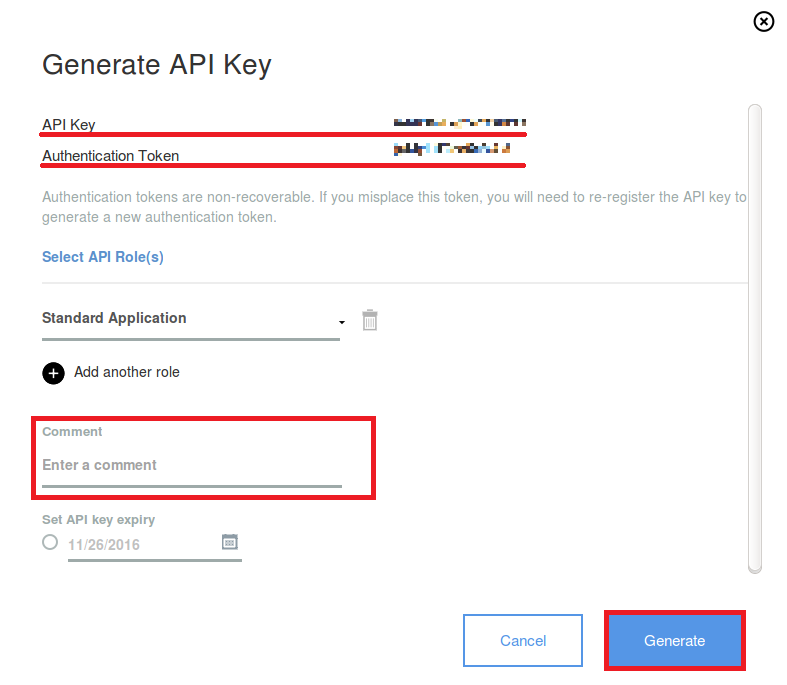 Note that these two values will be needed in the later step.
- On dashboard, launch the Connect your devices dashboard
- Watson IoT NodeRED Application should be created in accordance with the following procedure:
- Go back to your Bluemix Dashboard: https://console.ng.bluemix.net
- Click Create Application

- Select Node-RED Starter
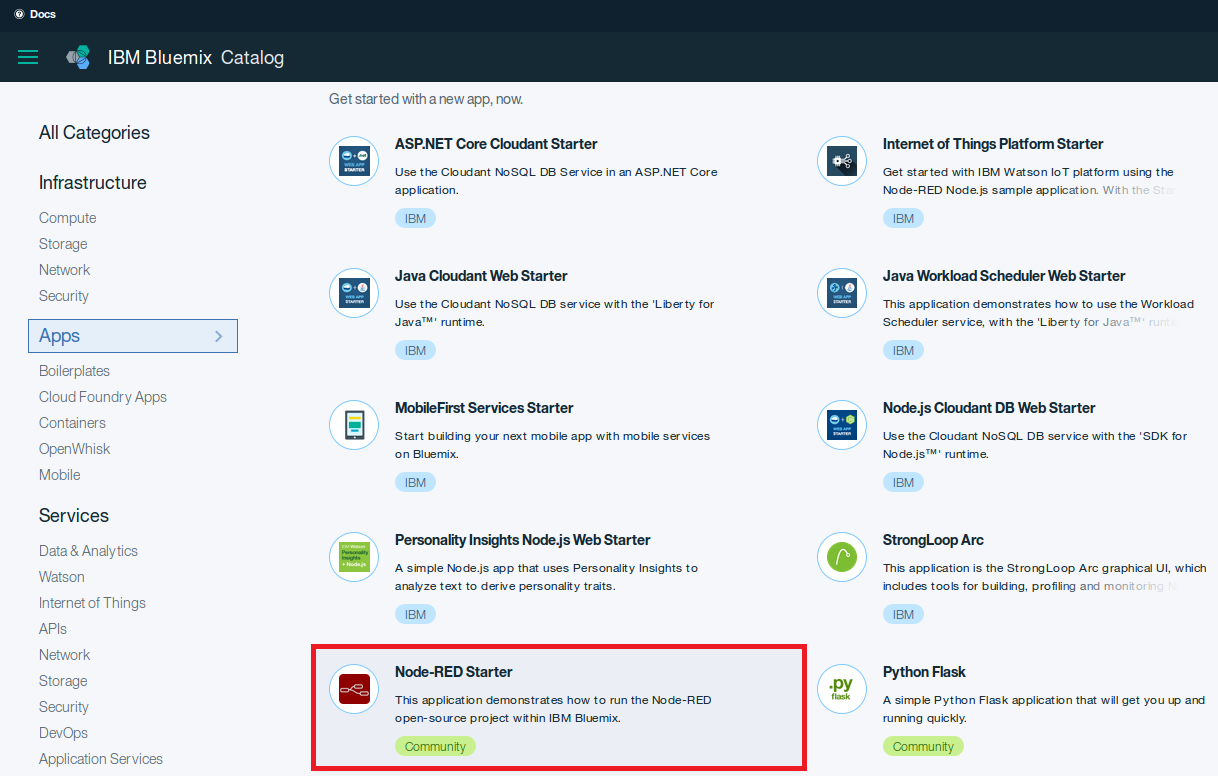
- Enter a unique App name and Click Create
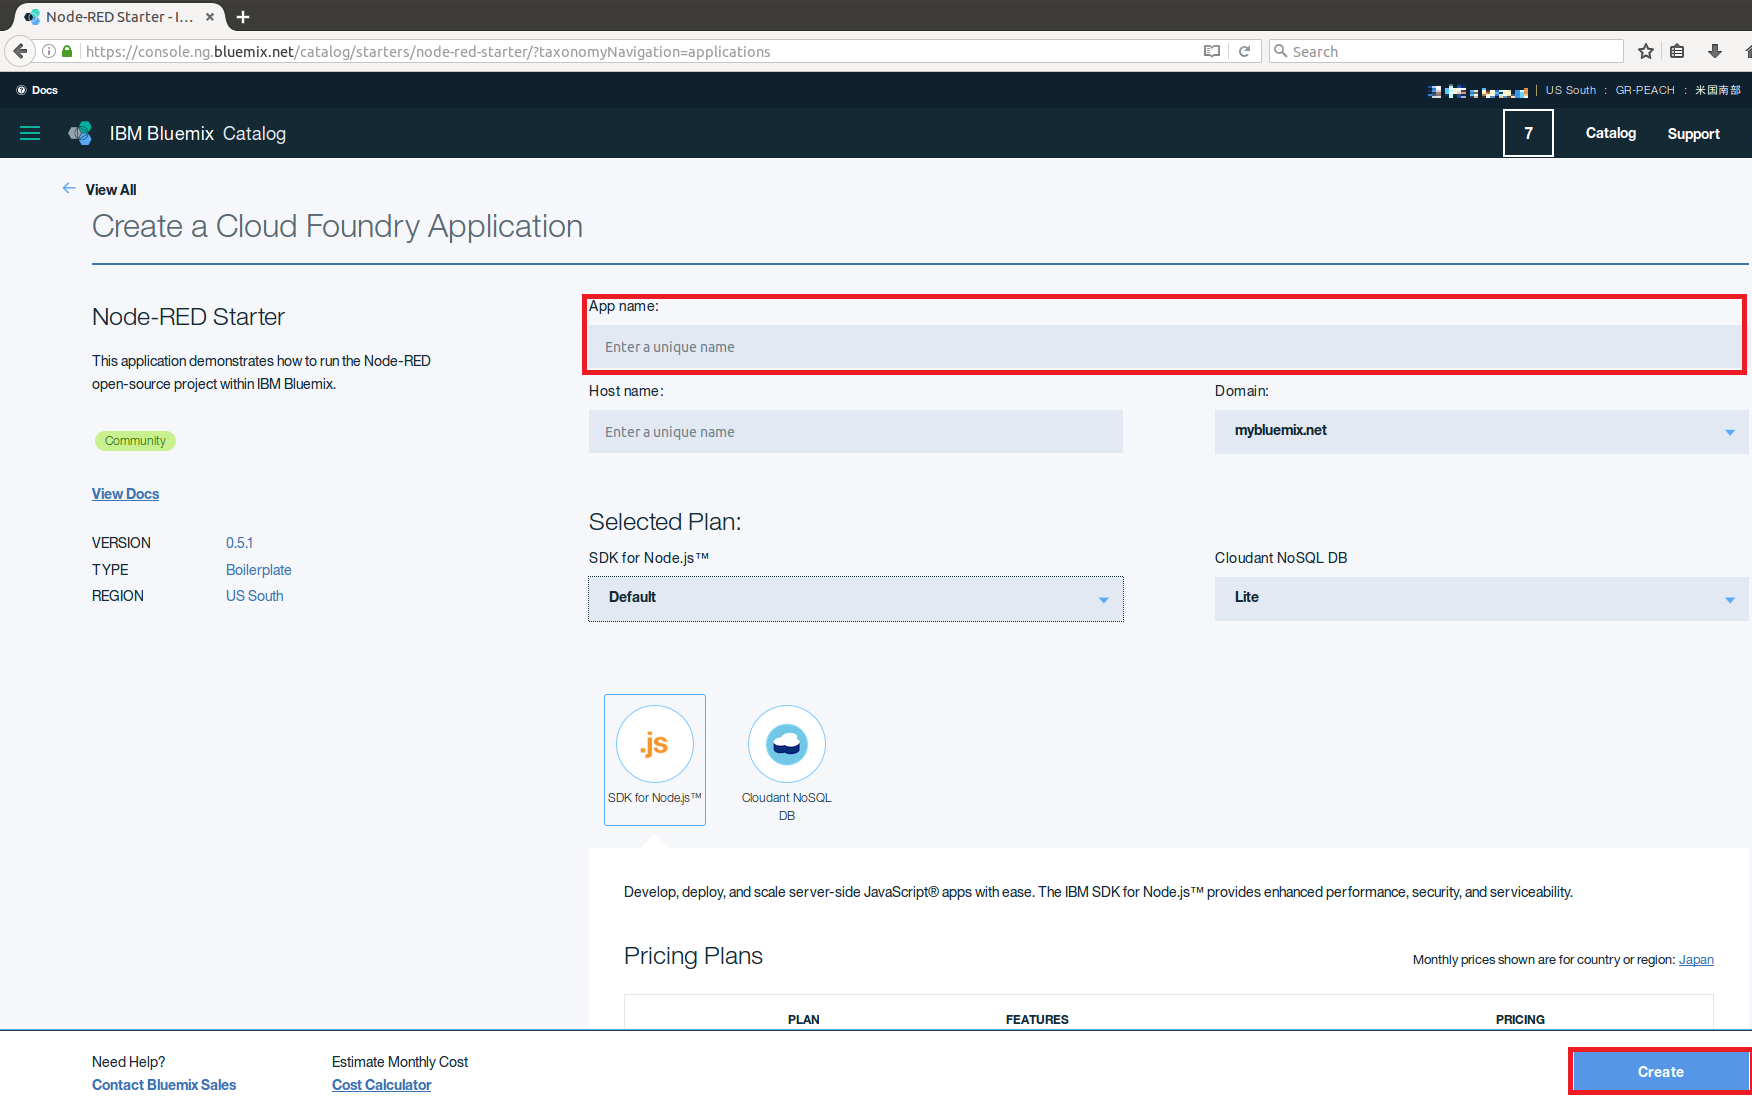
- Application will Stage after a few minutes
- Application will report app is running when the staging has completed